The big reveal: planning and photographing a small room makeover
Some of the most satisfying home projects are small: a new rug, a rearranged bedroom, a thrifted dresser painted and moved to the right wall. They rarely cost much, but they change how a room feels every day. Planning them as a proper "before and after", with a clear goal and a couple of photos, makes the result more deliberate, and gives you that drum-roll moment when you step back and see the difference.
Step 1: take the "before" first
Photograph the room before you move a single thing. It is the step everyone forgets, and without it you will soon not remember how the room looked. Take:
- One wide photo from the doorway, the view you see most often.
- One from the opposite corner.
- Close-ups of the problem areas: the cluttered surface, the bare wall, the awkward corner.
Note where you stood, so you can take the "after" from exactly the same spot.
Step 2: decide what the room needs to do
Write down, in a sentence or two, what the room is for and what bothers you about it now. "A bedroom where I can read in bed and that does not feel cluttered" is more useful than "make it nicer". The goal tells you what to change and what to leave alone.
Step 3: choose one focal change
A small makeover works best with one main change that everything else supports. Common, affordable choices:
| Focal change | Effect | Budget tips |
|---|---|---|
| A rug | Defines the space, adds warmth and colour, softens sound | Flatweaves and secondhand rugs; see our guide to Southwestern-style rugs and kilims |
| Rearranging furniture | Changes flow and light without spending anything | Free; ask for help with heavy pieces |
| Paint on one wall or one piece of furniture | Strong colour impact for little money | Sample pots for small pieces; renters can paint furniture instead of walls |
| Textiles: bedding, curtains, cushions | Changes colour and mood quickly | Thrifted fabrics, vintage linens, sewing simple covers |
| Lighting | Changes atmosphere more than people expect | Secondhand lamps, warm bulbs, a lamp at reading height |
| A key piece of furniture | Adds storage or a new use | Secondhand, checked carefully; see buying secondhand furniture |
Step 4: edit before you add
Most rooms improve more from taking things out than from bringing things in. Before buying anything:
- Clear every surface completely, then put back only what you use or love.
- Move anything that does not belong in the room to where it does belong.
- Hang the artwork that has been leaning against the wall for months.
- Deal with cables, piles of paper and laundry, which make any room look untidy.
Step 5: make a short list and a budget
List the changes in order of impact, with a rough cost next to each, and a total you are happy to spend. Start with the free changes (editing, rearranging), then the focal change, then small finishing touches. Stop when the room does what you wanted, even if items remain on the list.
Step 6: do it in a day, if you can
Small makeovers are most satisfying when the change happens all at once. Gather everything you need first, clear a day, and work room-out: remove, clean, move furniture, lay the rug, add textiles, set the lighting, then style the surfaces. Cleaning while the room is empty, especially floors and skirting boards, is part of the transformation.
Step 7: styling the finishing touches
- Group objects in small clusters of different heights rather than spreading them evenly.
- Repeat a colour two or three times across the room so it looks intentional.
- Add something living: a plant, or a branch from the garden in a jar.
- Add something handmade: a crocheted throw, a macramé hanger, a mended cushion. Our macramé for beginners guide is a good first project.
- Leave some empty space. Not every surface needs an object.
Step 8: take the "after" photos honestly
A fair before-and-after shows the same room, from the same spot, in similar light. A few tips:
- Same position, same height, same lens: stand where you stood for the "before", and hold the camera or phone at the same height, around chest level.
- Same time of day, if possible, so daylight is similar. If one photo is bright and the other gloomy, the comparison flatters or hides the change.
- Turn on lamps in both photos if they are part of the room's everyday look.
- Keep verticals straight: hold the camera level so walls do not lean. Many phones have a grid or level guide.
- Avoid heavy filters and wide-angle distortion. The aim is to show the room as it feels to be in it.
- Add details: close-ups of textures, a styled shelf, the new rug underfoot.
Common mistakes
- Buying first, planning later. A beautiful rug in the wrong size or colour is the most common regret.
- Too many small things. A dozen new accessories rarely have the effect of one larger change.
- Ignoring the light. A room with a single ceiling light rarely feels cosy, however well it is furnished.
- Measuring by eye. Measure floor space, doorways and stairs before you buy furniture or a rug.
Living with it for a week
Give the new arrangement a week before deciding it is finished. You may find a chair needs to move closer to the light, or a rug needs a non-slip underlay. Small adjustments after living in a room are what make it work. For a fuller guide to changing a bedroom on a small budget, see a calm, personal bedroom on a small budget.
Checklist
Room makeover plan
- "Before" photos from marked spots
- One-sentence goal for the room
- One focal change
- Edit and clean first
- Short list with a budget
- "After" photos: same spot, same light
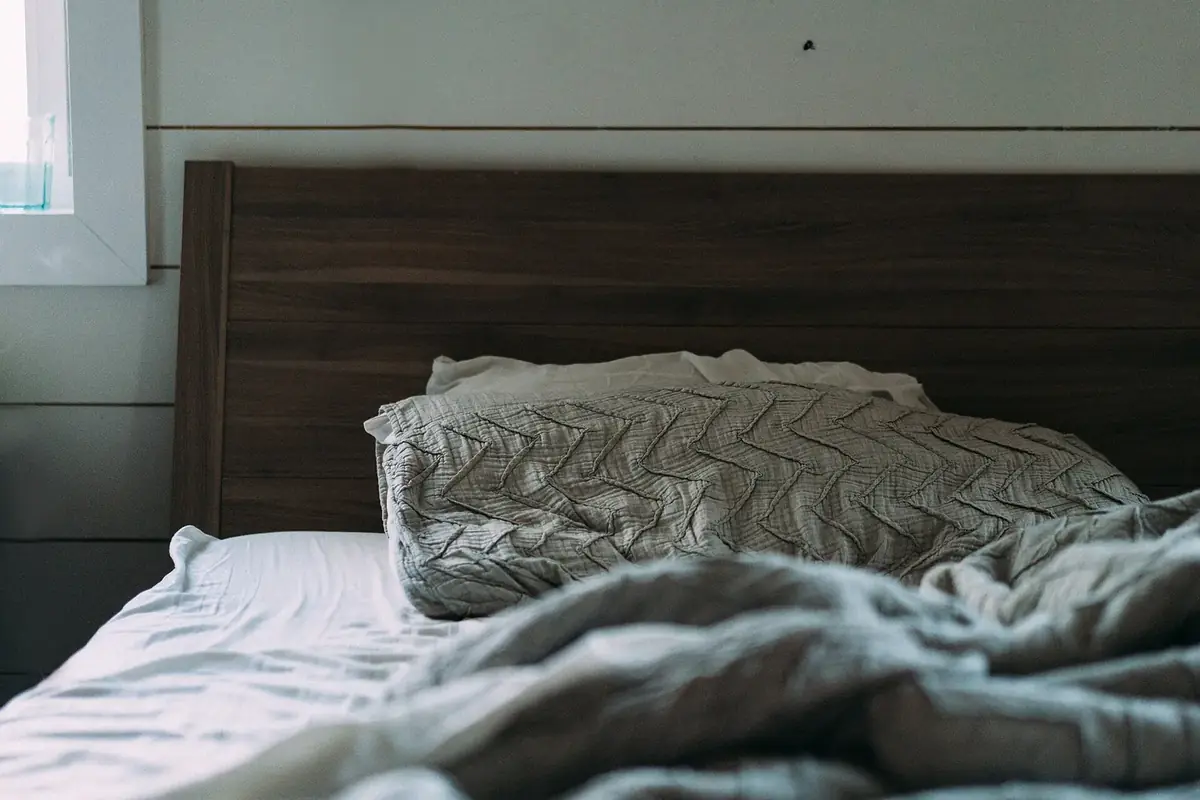 Home & handmade
A calm bedroom on a small budget
Edit, set a colour plan, layer textiles and shop secondhand.
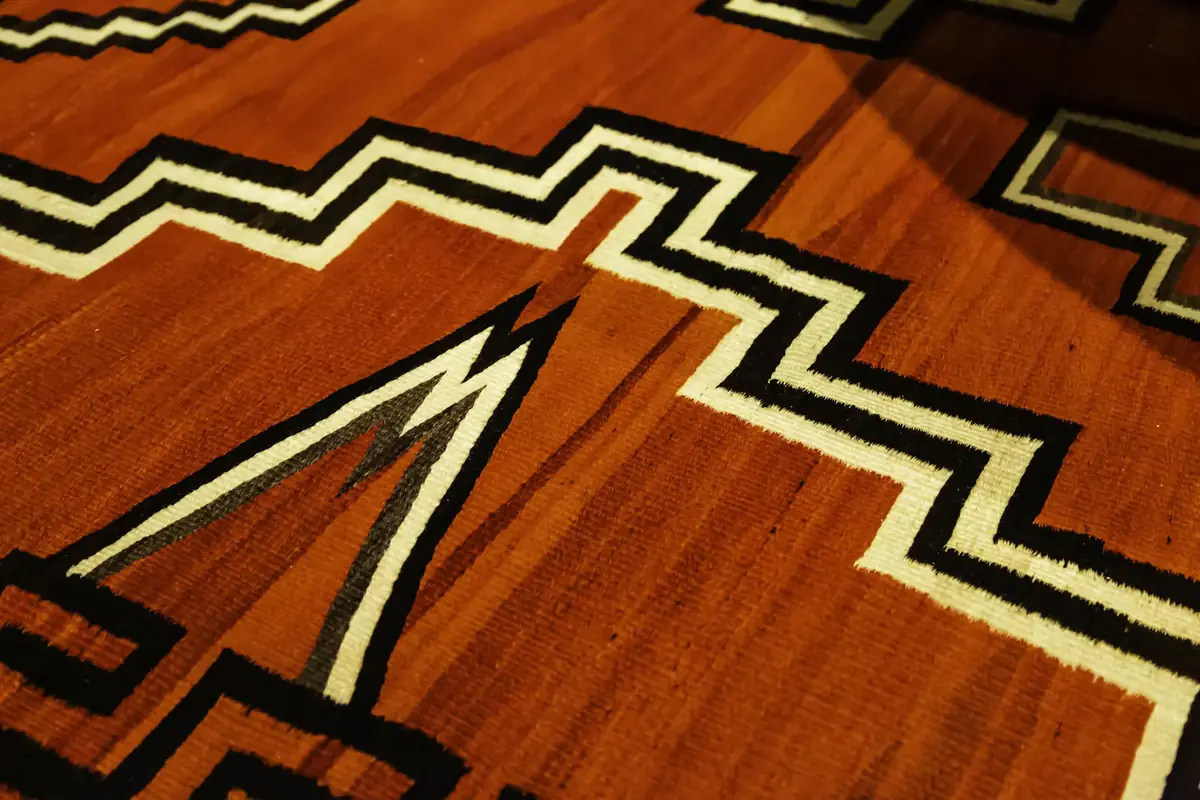 Home & handmade
Southwestern-style rugs and kilims
Reading a rug's construction, 'Indian-made' rules, and care.
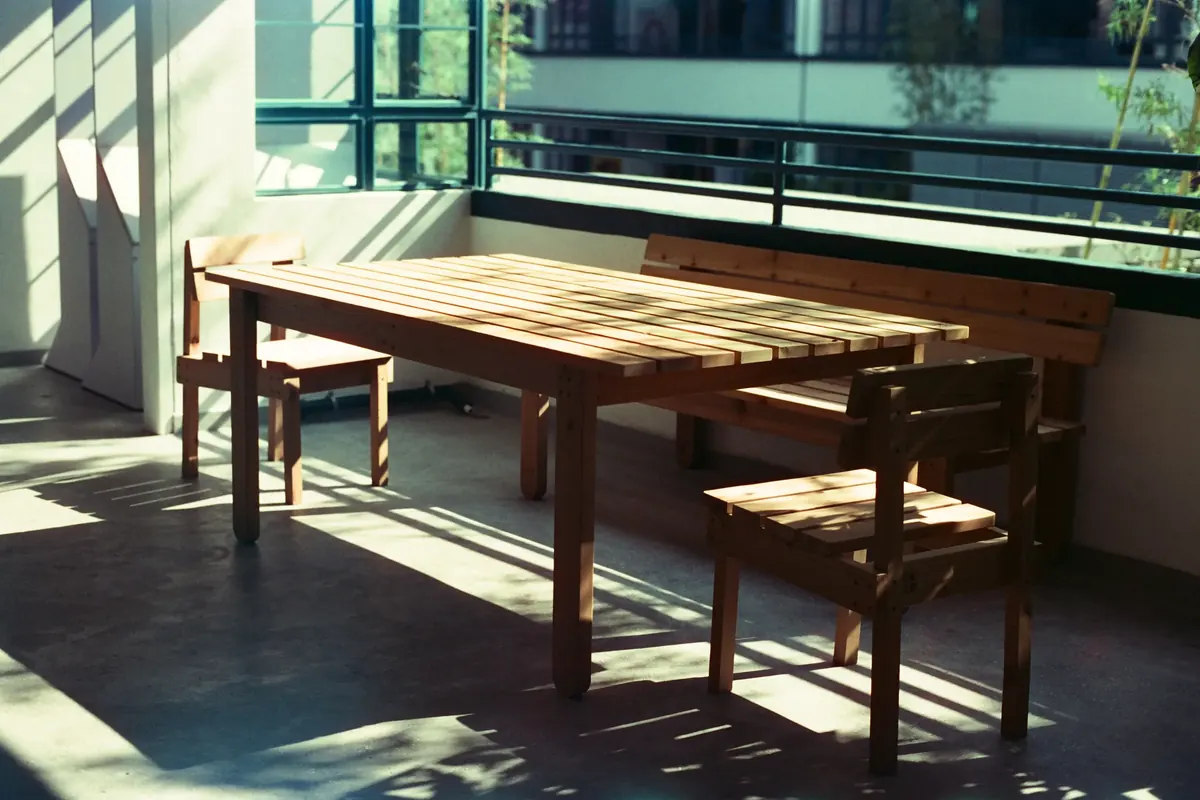 Home & handmade
Checking secondhand furniture
Solid wood or veneer, joints and drawers, woodworm, bed bugs, old paint and the pieces best bought new.