Cleaning and mending secondhand clothes before you wear them
A secondhand garment is not ready to wear until it has been cleaned and checked, and many small problems that put people off thrifting take ten minutes to fix. This is the routine for getting a find from the shop bag into the wardrobe.
First: keep it separate
Put new purchases in a bag or basket of their own rather than straight into the wardrobe. Anything that smells musty, or any wool or knitwear with small holes, could carry mildew spores or clothes moth eggs, and you do not want those to spread to the rest of your clothes.
Sort by fabric and care
Look for a care label. Garments sold new in the U.S. carry care instructions under the Federal Trade Commission's Care Labeling Rule, and following them is the safest route. Older and homemade clothes often have no label. Then go by fabric:
| Fabric | Usually safe approach | Be careful with |
|---|---|---|
| Cotton, linen, denim | Machine wash, often warm; line or tumble dry | Shrinking in hot water or a hot dryer, colour bleeding |
| Polyester, nylon, acrylic | Machine wash cool or warm, low dryer heat | High heat can melt or set creases |
| Wool, cashmere | Hand wash in cool water with a wool detergent, or dry clean | Hot water and agitation cause felting and shrinking |
| Silk | Gentle hand wash in cool water, or dry clean | Water spots, colour loss, weak old silk tearing |
| Rayon / viscose | Hand wash cool or dry clean, dry flat | Can shrink sharply and is weak when wet |
| Structured items (tailored jackets, coats) | Professional dry cleaning | Interfacings can bubble if washed |
| Beaded, sequinned, fragile vintage | Ask a specialist cleaner, or spot clean only | Glued trims and old threads |
Not sure? Test first. Dampen an inside seam with a little water and gentle detergent, press with a white cloth, and see whether colour comes off. If it does, do not wash the whole piece.
Washing by hand
- Fill a clean basin with cool to lukewarm water and a small amount of gentle detergent.
- Turn the garment inside out and submerge it. Press it gently; do not rub or wring.
- Leave to soak for 10 to 30 minutes, then drain and rinse in clean water of the same temperature until no suds remain. Sudden temperature changes encourage wool to felt.
- Press out water against the side of the basin, then roll the garment in a towel and press to remove more.
- Dry knitwear flat on a dry towel, easing it to shape. Hang woven items on a padded hanger, away from direct sun and heaters.
Getting rid of smells
- Air first. Hang the garment outside in the shade on a dry, breezy day. This alone removes many "shop" smells.
- A vinegar rinse (a splash of white vinegar in the rinse water) helps with lingering odours in washable items. Do not combine vinegar with bleach.
- Baking soda sprinkled inside a closed bag with a non-washable item such as a bag or pair of shoes, left for a day or two and brushed out, can absorb odours.
- Strong cigarette smoke and heavy mildew may need several washes or professional cleaning, and sometimes do not come out completely.
Dealing with possible moths
Clothes moth larvae eat wool, cashmere, fur, feathers and silk, especially when soiled. If you see small, scattered holes, silky tubes or tiny larvae, treat the item before it goes near your wardrobe. Freezing is a common method: university extension services advise sealing items in a plastic bag with as much air pressed out as possible and freezing them for several days. Mississippi State University Extension suggests four to seven days (MSU Extension), and the Connecticut Agricultural Experiment Station suggests at least three days in a deep freeze (CAES fact sheet on clothes moths). Let the bag return to room temperature before opening it, so condensation forms on the bag rather than the garment, then clean the item, since clean fibres are less attractive to moths.
Simple mends anyone can do
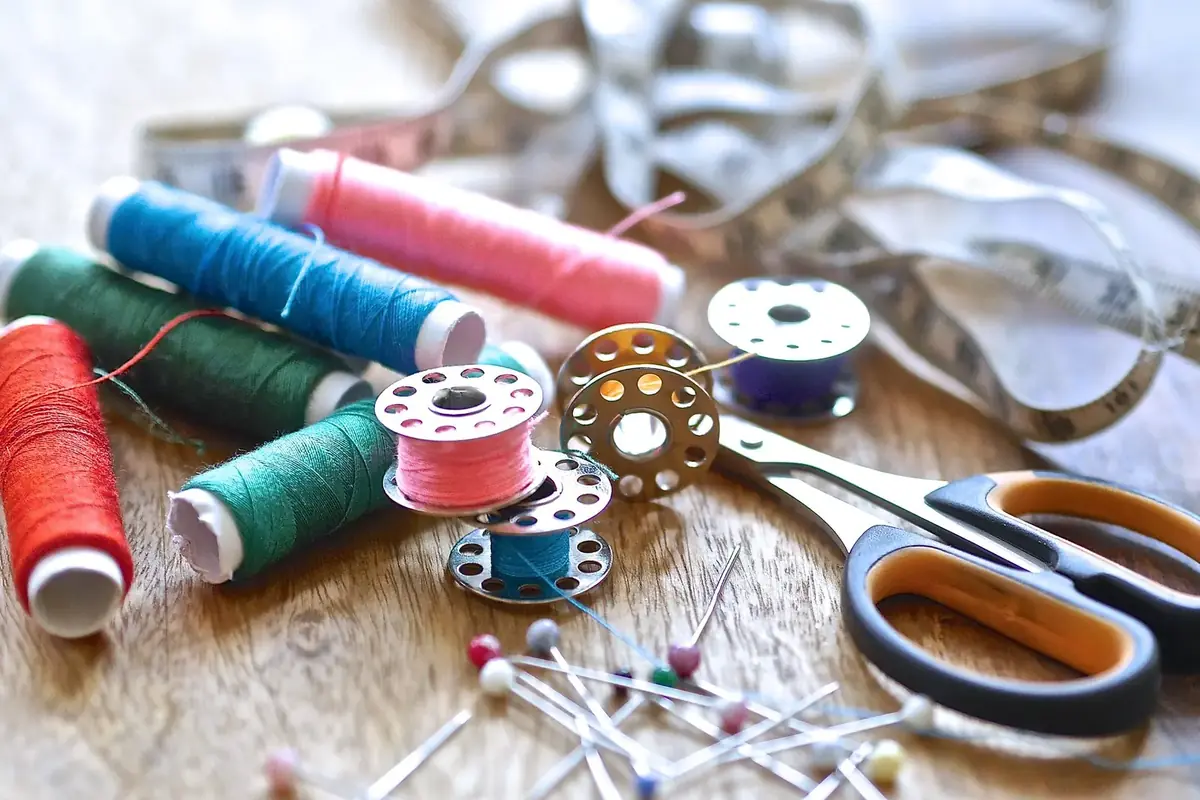
A basic kit covers most repairs: a few hand-sewing needles, all-purpose thread in black, white, navy and grey, small sharp scissors, pins and a seam ripper.
Sewing on a button
- Thread the needle with a doubled length of thread and knot the end.
- Start from the back of the fabric where the old button was, so the knot is hidden.
- Place a pin or matchstick on top of the button between the holes, and sew over it through the holes five or six times. This leaves slack for a "shank".
- Remove the pin, pull the button up, and wind the thread around the stitches under the button a few times to form the shank.
- Push the needle to the back and finish with several small stitches before cutting.
If a button is missing on a vintage piece and you cannot match it, move a button from a less visible spot (the bottom of a shirt, a cuff) to the front, or replace the whole set.
Closing an open seam
Turn the garment inside out and pin the seam along its original line. Using a backstitch (each stitch going back to meet the previous one), sew along the old stitch line, starting and finishing about 1 cm into the intact stitching on each side. Backstitch is strong enough for most seams that open under strain.
Fixing a dropped hem
Pin the hem back in place, matching the original fold. Use a slip stitch or blind hem stitch: pick up just one or two threads of the outer fabric with each stitch so it barely shows on the right side, then slide the needle along inside the fold to the next stitch.
Small holes in knits
Catch a small hole quickly, before it runs. Darning, which weaves new yarn across the gap, works on socks and sweaters, and visible mending with contrasting yarn has become popular in its own right. Small holes in fine knitwear can also be closed from the inside with a few stitches in matching thread.
Pressing and finishing
- A steamer or a steam iron revives most fabrics. Use a pressing cloth (a clean cotton tea towel) on wool, dark fabrics and anything that might go shiny.
- Use a fabric shaver or a sweater comb gently on pilled knits.
- Re-thread a drawstring that has come out by pinning a safety pin to one end and working it through the channel.
Storing well
- Store only clean, dry clothes.
- Fold heavy knitwear rather than hanging it, which stretches shoulders.
- Use padded or shaped hangers for tailored jackets and delicate dresses.
- Keep wool in breathable cotton bags or sealed boxes over the warm months, and check it now and then.
- Avoid storing clothes in direct sunlight, which fades colour, or in damp places where mildew grows.
Still shopping? The guide to buying vintage and secondhand clothes covers which flaws to accept and which to avoid.
 Thrift & vintage
How to buy vintage clothes
Where to look, vintage sizing, what to inspect, label clues.
 Home & handmade
Southwestern-style rugs and kilims
Reading a rug's construction, 'Indian-made' rules, and care.
 Home & handmade
A calm bedroom on a small budget
Edit, set a colour plan, layer textiles and shop secondhand.