Wear your heart on your sleeve: visible mending with patches and darns
Elbows are where sweaters and shirts wear out first. Instead of hiding the repair, visible mending makes it a feature: a patch in a contrasting colour, a heart stitched over a thin spot, a darn in bright wool. It is one of the most satisfying ways to keep a favourite secondhand piece in use, and it needs only a needle, thread and a little patience.
Why mend visibly?
- It is forgiving. An invisible repair has to be perfect; a visible one only has to be neat and strong.
- It reinforces. A patch or a darn adds material where the wear happens, so it often lasts longer than the original fabric.
- It personalises. A plain thrifted jumper becomes one of a kind.
- It saves money and keeps clothes out of the bin.
What you need
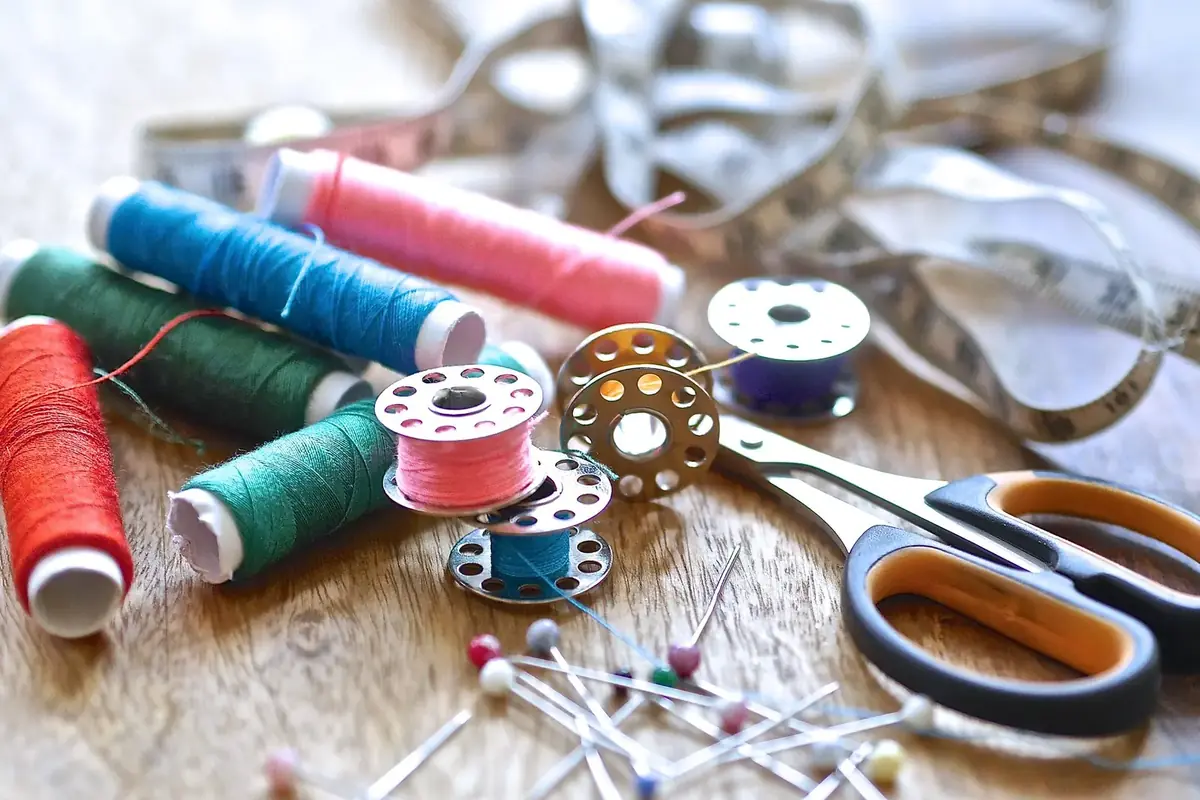
- Sharp needles: a darning or tapestry needle with a large eye for wool, and a finer sharp needle for woven fabrics.
- Thread or yarn: wool or wool-blend yarn for knits, embroidery cotton or sashiko thread for woven fabrics.
- Fabric for patches: felted wool, wool suiting, denim, corduroy or sturdy cotton offcuts.
- A darning mushroom or egg, or simply a smooth round object such as a jar or a tennis ball.
- Small scissors, pins, and tailor's chalk or a washable marker.
Option 1: elbow patches, including hearts
Patches are the classic fix for knit and woven elbows alike.
- Try the garment on and mark the centre of each elbow with a pin while your arm is bent. Elbows are rarely where you would guess with the garment flat.
- Cut the patches. Ovals are traditional; hearts, circles or rounded rectangles work too. Make them generous, extending well past the worn area onto sound fabric. Rounded corners fray and catch less than sharp ones.
- Prepare the edges. Felted wool and felt do not fray and can be used as they are. Woven fabrics need the edges turned under, or a fusible backing, or a blanket stitch over the raw edge.
- Pin or tack in place, on both sleeves, and check they match by holding the sleeves together.
- Slip a smooth object inside the sleeve so you do not stitch through both layers.
- Stitch around the edge with small, even stitches. Blanket stitch in a contrasting colour is decorative and strong; a neat whip stitch is quieter.
On knitwear, keep the stitches slightly relaxed so the sleeve can still stretch. Pulling them tight makes the area pucker.
Option 2: Swiss darning (duplicate stitch) for thin knits
Swiss darning traces over existing knitted stitches with new yarn, reinforcing a thinning area before it becomes a hole. It can match the original colour, or use a contrast to "draw" a shape such as a heart or a stripe.
- Thread a blunt needle with yarn of similar thickness to the garment's.
- Working from the back, bring the needle up at the base of a "V"-shaped knit stitch.
- Pass the needle behind the two legs of the stitch above.
- Go back down where you came up. You have covered one stitch.
- Continue along the row, then work back on the row above. Cover a margin of healthy stitches around the thin area.
Sketch a small heart on squared paper first, one square per stitch, and follow it like a cross-stitch chart.
Option 3: a woven darn for holes
A woven darn fills a hole with a small patch of weaving. In a bright colour it becomes a little square of decoration.
- Stretch the area over a darning mushroom. Trim only loose, straggly threads; do not enlarge the hole.
- Run a line of small running stitches around the hole, on sound fabric, to stabilise it.
- Lay vertical threads across the hole, from sound fabric to sound fabric, close together. These are the warp.
- Weave horizontal threads over and under the warp, alternating each row, and push each row snug against the last.
- Finish by running the ends into the back of the darn.
Using a different colour for the warp and the weft gives a small checked effect.
Option 4: running stitch on woven fabrics
For shirts, jackets and jeans, a patch placed behind a worn area and held down with rows of simple running stitch is quick, strong and attractive. This approach is inspired by Japanese sashiko, a tradition of reinforcing and decorating cloth with running stitch. Keep stitches even in length and rows parallel; that regularity is what makes it look intentional.
Colour and material choices
- Match fibre to fibre where possible: wool on wool, cotton on cotton. Mixed fibres can shrink differently in the wash.
- Pre-wash patch fabric so it does not shrink after you sew it on.
- Contrast deliberately. One accent colour used on both elbows looks planned; a different colour on each can look playful. Decide before you start.
- Check colour-fastness of bright threads by wetting a scrap and pressing it on white cloth.
Caring for mended clothes
Wash mended knits by hand or on a gentle wool cycle, and dry them flat. Check repairs after the first few wears; a stitch or two of reinforcement early saves a bigger repair later. For washing, de-pilling and other basic repairs, see cleaning and mending secondhand clothes. If you enjoy working with your hands and cord, our macramé for beginners guide is another easy craft to try.
Checklist
Visible mending kit
- Darning needle and sharp needle
- Wool yarn and embroidery thread
- Felted wool or sturdy cotton scraps
- Darning mushroom or round jar
- Chalk, pins, small scissors
- Squared paper for designs