Canned biscuit campfire doughnuts: a complete camp guide
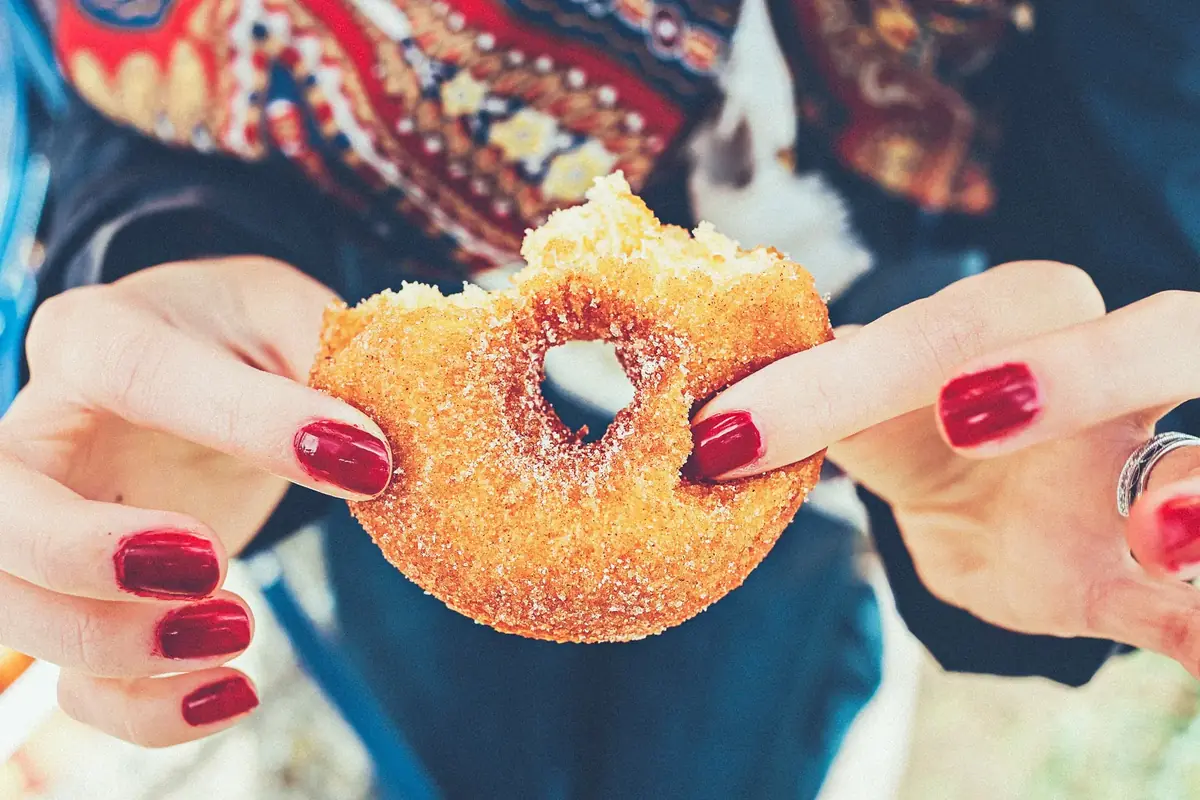
A tube of refrigerated biscuit dough, a heavy pot of hot oil and a bag of cinnamon sugar make some of the best food you can eat at a campsite. The method is simple. The part that deserves care is the oil, because a pot of frying fat outdoors is a real fire and burn hazard. This guide covers both.
Why canned biscuit dough works
Refrigerated biscuit dough is already leavened, portioned and seasoned. In hot oil it puffs quickly and turns into something between a cake doughnut and a yeast doughnut: crisp outside, soft and slightly layered inside. No flour, rolling pin or bowl needed. "Flaky" styles give a lighter crumb, plain "homestyle" ones a denser doughnut.
The dough is a perishable refrigerated product. Keep the tubes in the cooler, against the ice packs, until the moment you open them, and check the use-by date before you leave home. Cold dough is also easier to handle: warm dough stretches and tears when you cut the holes.
Kit list
Gear checklist
- A heavy, deep pot. A cast-iron Dutch oven or a thick-bottomed stockpot holds heat and does not tip easily. Avoid thin, light pans and anything with a loose handle.
- A stable heat source. A two-burner camp stove on a level, solid table or on the ground is the best choice. You can adjust the flame, which is what keeps the oil in the right range. A campfire works only with a sturdy grate and a lot of attention, because you cannot turn a fire down.
- A frying or candy thermometer that clips to the side of the pot. Guessing the temperature is the main reason camp doughnuts end up burnt outside and raw inside, or greasy.
- A metal slotted spoon or spider and long tongs. No plastic utensils near the oil.
- A lid or baking sheet that fully covers the pot, kept within arm's reach the whole time (see the safety section).
- A plate or tray lined with paper towels, two zip-top bags or a bowl for coatings, and a bottle cap or small round cutter for the holes.
- Neutral oil with a high smoke point: canola, vegetable, sunflower or peanut oil. If you use peanut oil, tell your group, since some people are allergic.
How much oil you need
You want the doughnuts to float freely, which needs about 4 to 5 cm (1½ to 2 inches) of oil. At the same time the pot should be well under half full so the oil has room to bubble up when the dough goes in. A wide pot needs more oil for the same depth, so it is worth doing the sum once:
- A pot 26 cm (about 10 inches) across has a base of roughly 530 cm². One litre of oil in it is about 1.9 cm deep.
- So 4 to 5 cm of oil in that pot takes about 2 to 2.7 litres (roughly 2 to 3 US quarts).
For your own pot: area = π × radius², and depth = oil volume (1 litre = 1,000 cm³) ÷ area. Bring a little extra oil in its closed bottle.
Oil temperature
Most doughnut recipes fry at 350 to 375 °F (about 175 to 190 °C). Below that range the dough soaks up oil and stays heavy; above it the outside browns before the middle is cooked, and the oil gets closer to smoking. The U.S. Department of Agriculture notes that frying oil can go above 400 °F (about 205 °C) and that extreme care is needed at those temperatures (USDA FSIS, deep fat frying and food safety).
Heat the oil gradually over medium heat and watch the thermometer. Adding cold dough always drops the temperature, so fry only three or four pieces at a time and let the oil come back up between batches. If it climbs past 375 °F, turn the stove down before adding more dough. If the oil starts to smoke, turn the heat off and let it cool down: smoke means it is overheating.
Method
- Set the stove up out of the way of tents, low branches, dry grass and the main walking path through camp. Agree with any children that the cooking area is off limits.
- Pour in the oil, clip on the thermometer and heat to about 360 °F (180 °C).
- Meanwhile, open a tube of dough and separate the biscuits. Press a hole in the centre of each one with a clean bottle cap or a small cutter and keep the holes: they fry into bite-sized "holes".
- Lower three or four rings into the oil with the slotted spoon, laying them away from you so any splash goes away from your hands.
- Fry until the underside is deep golden, then turn and fry the other side. With most biscuit doughs this takes about a minute or two per side, but go by colour rather than the clock. Cut the first one open to check that the centre is cooked through and not doughy; adjust the timing for the rest.
- Lift out, let the oil drip back into the pot for a few seconds, then drain on paper towels for half a minute.
- Coat while still warm (see below) and repeat with the next batch.
Coatings and fillings
| Coating | How to make it | When to apply |
|---|---|---|
| Cinnamon sugar | About ½ cup granulated sugar shaken with 1 tablespoon ground cinnamon in a zip-top bag | Toss the doughnuts in the bag while still warm so the sugar sticks |
| Powdered sugar | Plain confectioners' sugar in a bag | Once slightly cooled, or it melts into a paste |
| Simple glaze | 1 cup confectioners' sugar stirred with about 2 tablespoons milk and a drop of vanilla until it runs slowly off a spoon | Dip the tops of warm doughnuts, then let set for a few minutes |
| Jam "filling" | Fry biscuits whole (no hole), cool slightly, cut a slit in the side and spoon in jam | After draining |
Frying safely outdoors
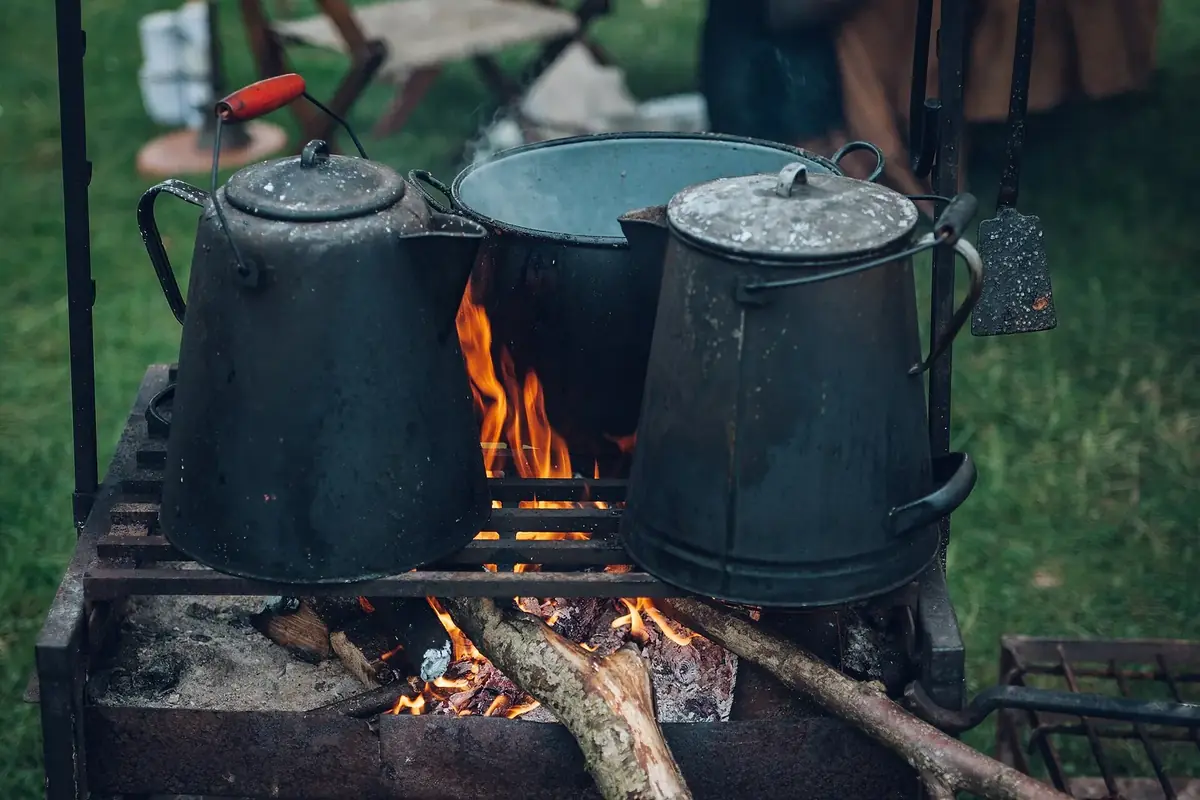
A campsite adds hazards a kitchen does not have: uneven ground, wind, children and dogs, and no sink. These rules cover most of the risk:
- Never leave the pot. One adult watches the oil from the moment the stove is lit until the oil is cool. The U.S. Fire Administration's first cooking rule is "stand by your pan" (USFA, cooking fire safety).
- Keep the lid handy. If the oil catches fire, turn off the stove if you can reach the valve safely and slide the lid or a baking sheet over the pot. The USFA advises keeping a lid or baking sheet nearby for exactly this.
- Never use water on hot oil or an oil fire. Water flashes to steam under the oil and throws burning fat out of the pot. Keep wet food, rain-soaked utensils and drinks away from the pot for the same reason.
- Do not move a pot of hot oil. Plan where it will sit until it is cold before you heat it.
- Turn the handles in, keep the stove level, and shelter it from wind with the vehicle or a proper stove windscreen, never with something flammable.
- Check the land manager's fire restrictions before your trip; in high fire danger, stove use can be restricted too.
- Bring a first-aid kit. Cool a minor burn under cool running water; get medical help for anything larger.
The campfire and camp stove safety guide goes through stove set-up, fire rings and putting a fire out in more detail.
No-fry variations
No frying allowed, too windy, or small children around? Try these:
- Stick doughnuts. Stretch a biscuit into a rope and wrap it around a clean, thick green stick or a metal roasting stick. Toast it slowly over hot coals, turning, until it is browned and sounds hollow, then slide it off and roll it in melted butter and cinnamon sugar. The hollow middle is a natural place for jam.
- Skillet "doughnut bites". Cut biscuits into quarters and cook in a heavy skillet with a few millimetres of oil or butter over medium-low heat, turning until golden on all sides. Much less oil, and far less of a spill risk.
Cleaning up the oil
Let the oil cool completely in the pot, which takes a while for a large volume, and keep people away from it until then. Never pour it on the ground, into a stream or into a campground toilet or fire ring. Once cool, strain it through a paper towel or coffee filter back into its bottle or a sealable container and take it home. Throw out oil that smells sharp, has darkened a lot or foams. Wipe the pot with paper towels before washing, and pack out the greasy towels with your trash. These habits follow the "dispose of waste properly" principle of Leave No Trace.
 Camp & seasonal kitchen
Campfire and camp stove safety
Stoves, fire rings, putting a fire out cold, and carbon monoxide.
 Camp & seasonal kitchen
Fresh mint chip ice cream
Steeped real mint, a custard or egg-free base, chocolate shards.
 Trails & campsites
Family camping for beginners
Campground, gear, sleeping warm, food, and keeping kids happy.